


How to Keep Your Radiator in Top Condition

A radiator is an essential component of your vehicle’s cooling system, playing a critical role in maintaining the optimal operating temperature of the engine. Regular maintenance of your radiator not only ensures that it operates efficiently but also extends its lifespan. A well-functioning radiator prevents overheating, thus safeguarding the engine from potential damage.
To keep your radiator in great shape, it’s important to follow a set of best practices. Regular inspections can help identify any signs of wear, corrosion, or leaks, which might compromise its performance. Flushing the radiator system periodically is also crucial to remove any accumulated debris or sediment that may hinder its efficiency. Moreover, checking the coolant levels ensures that your radiator has the necessary fluid to operate effectively, thereby optimizing the cooling process.
In addition to these routines, paying attention to the hoses and connections is vital. Deteriorating hoses can lead to coolant loss and reduced effectiveness of the cooling system. Replacing worn-out components promptly will help maintain a reliable and effective radiator system. By following these tips, you can ensure that your radiator remains an effective ally in keeping your engine cool under pressure.
Regular Cleaning Techniques for Optimal Cooling Performance
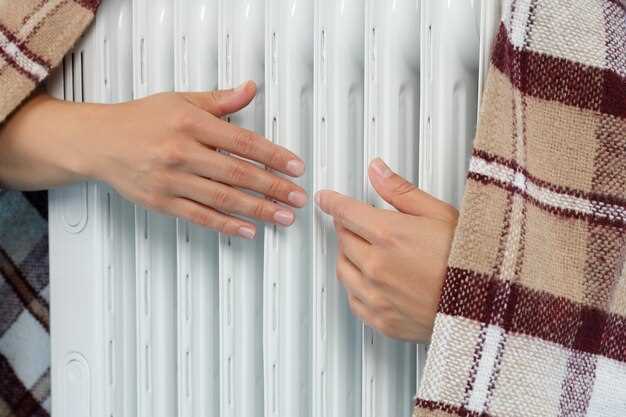
Maintaining the cleanliness of your radiator is essential for ensuring its efficiency and longevity. Over time, dust, debris, and other contaminants can accumulate, obstructing airflow and impeding the cooling process. Regular cleaning is key to optimal performance.
Start by turning off your heating system and allowing the radiator to cool down. Once it’s safe to work, use a vacuum cleaner with a brush attachment to remove dust and dirt from the surface and between the fins of the radiator. This not only enhances airflow but also prevents dust from circulating throughout your living space.
For a more thorough cleaning, consider using a damp cloth or sponge with mild detergent. Wipe down the exterior surfaces, ensuring you reach all corners and crevices. Avoid harsh chemicals that can damage the radiator’s finish. After cleaning, dry the surfaces with a clean, dry cloth to prevent moisture accumulation.
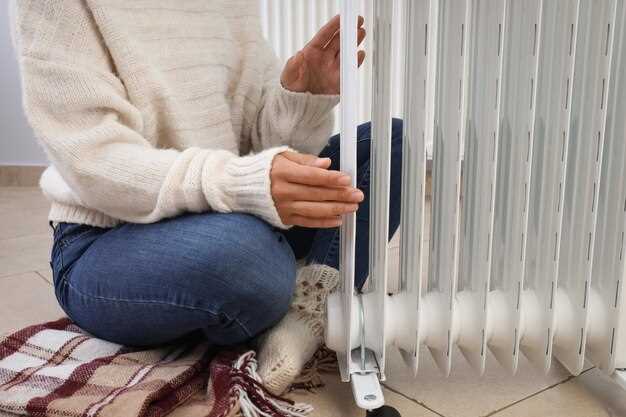
Every few months, inspect the area around your radiator. Ensure that there are no obstructions, such as furniture or curtains, that can block airflow. Keeping a clear space allows the radiator to operate more efficiently and provides optimal heating or cooling performance.
Finally, check the radiator’s vents and valves for blockages. If necessary, use a small brush to clear any debris. This simple step can significantly enhance the radiator’s efficiency and help maintain a comfortable environment in your home.
Checking and Replacing Coolant: A Step-by-Step Guide
Maintaining the right level and quality of coolant in your radiator is essential for optimal engine performance and preventing overheating. Follow these steps to check and replace the coolant in your vehicle.
Step 1: Gather Necessary Tools
Before starting, collect the necessary tools, including a funnel, a container for the old coolant, safety goggles, and gloves. Additionally, ensure you have the appropriate coolant recommended for your vehicle.
Step 2: Ensure Safety
Always perform this task when the engine is cool to avoid burns from hot coolant. Park your vehicle on a level surface and engage the parking brake.
Step 3: Locate the Radiator Cap
Open the hood and locate the radiator cap. If your vehicle has an expansion tank, you may check the coolant level there instead.
Step 4: Check Coolant Level
Remove the radiator cap carefully. If you hear a hissing sound, allow it to dissipate before continuing. Check the coolant level; it should be between the minimum and maximum marks. If it’s low, you need to add more coolant.
Step 5: Inspect Coolant Condition
Examine the coolant’s color and clarity. If it appears rusty, muddy, or has particles floating, it is time to replace it. Healthy coolant is typically bright and clear.
Step 6: Prepare for Drainage
To replace the coolant, place a container under the radiator’s drain valve. Ensure you are positioned correctly to avoid spills.
Step 7: Drain Old Coolant
Open the drain valve slowly to allow the old coolant to flow into the container. Be cautious, as the coolant may still be warm. Once drained, close the valve securely.
Step 8: Rinse the Radiator (Optional)
If necessary, flush the radiator with water to remove any remaining debris. Close the drain valve again after rinsing.
Step 9: Add New Coolant
Using a funnel, pour the new coolant into the radiator or expansion tank. Fill it to the appropriate level as indicated on the marks.
Step 10: Replace the Radiator Cap
Once full, securely replace the radiator cap. Ensure it is fitted tightly to prevent leaks.
Step 11: Run the Engine
Start your engine and let it run for a few minutes. Check for leaks around the radiator and listen for unusual sounds. Keep an eye on the temperature gauge to ensure it remains stable.
Step 12: Dispose of Old Coolant Properly
Take the used coolant to a recycling center or an auto parts store that accepts hazardous waste. Never pour it down the drain or dispose of it irresponsibly.
Regularly checking and replacing the coolant will help ensure your radiator functions effectively, contributing to your engine’s longevity and performance.
Identifying and Fixing Common Radiator Issues
Regular maintenance is crucial for ensuring your radiator operates efficiently and effectively. Understanding common radiator issues can help you diagnose problems early and maintain optimal cooling performance.
One common issue is air trapped in the radiator. Air pockets can reduce the efficiency of your heating system, leading to uneven heating or cooling. To fix this, locate the bleed valve on the radiator and use a radiator key to release trapped air. You should hear a hissing sound as air escapes, followed by water. Once water flows steadily, close the valve securely.
Another frequent problem is leaks. Radiator leaks can lead to loss of coolant and decreased efficiency. Inspect your radiator for visible signs of water pooling or rust. If a leak is found, you may be able to repair minor leaks with a sealant. For larger leaks or extensive corrosion, it may be necessary to replace the radiator entirely.
Additionally, ensure that your radiator is free from debris and dust. Accumulation of dirt can impede heat transfer and cooling efficiency. Regularly clean the radiator fins with a soft brush or vacuum to maintain airflow and performance.
Lastly, check the thermostat and ensure it is functioning properly. A malfunctioning thermostat can lead to temperature inconsistencies, affecting the overall cooling. If your thermostat appears faulty, consider replacing it to restore full functionality to your radiator system.


